The Process Of Animation: An Amazing Guide For Creators (2025)
Contents
- 1 Concept Development: first process of animation
- 2 Scriptwriting: Laying the Foundation
- 3 Storyboarding and Scene Planning
- 4 Character and Environmental Design
- 5 Animatics: Visualizing the Narrative Flow
- 6 3D Animation-Specific Steps: Modeling, Rigging, and Texturing
- 7 Animation Production: Giving Motion to Art
- 8 Refining the Visuals: Lighting, Rendering, and Special Effects
- 9 Sound Design and Music Composition
- 10 Reviewing, Revising, and Exporting the Final Product
- 11 Distribution, Promotion, and Audience Engagement
Animation is a fascinating art form that seamlessly blends imagination, storytelling, and technology. From blockbuster animated films to short social media clips, the process behind each project involves a meticulous series of steps. These steps not only ensure smooth workflows but also guarantee that the final animation resonates with its intended audience. This comprehensive guide delves into the detailed process of animation, offering detailed insights into every stage. Whether you’re a beginner exploring animation or a seasoned professional refining your craft, this article is tailored to help you navigate the journey.
Concept Development: first process of animation
The process of animation starts with an idea. Concept development is the initial brainstorming stage where animators or creative teams lay the groundwork for the project.
Key Components:
- Theme and Purpose: Identify the core idea—Is it a heartwarming tale, a bold commercial, or an educational tool?
- Audience Profiling: Determine who the animation is for. Children’s stories require whimsical tones, while corporate explainers demand professionalism.
- Creative Ideation: Use mind maps, mood boards, and sketches to explore ideas visually.
Example:
The concept for Frozen began with the simple idea of exploring sisterhood and later evolved into a story with iconic characters and stunning visuals.
Scriptwriting: Laying the Foundation
The script acts as a roadmap, detailing every scene, action, and dialogue. A clear and concise script not only guides animators but also ensures the story stays cohesive.
How Strong Script is: the most important process of animation
- Start with an Outline: Break the story into three acts—setup, confrontation, and resolution.
- Describe Visuals: Provide enough detail to help storyboard artists visualize key moments.
- Craft Dialogue: Ensure conversations are natural and reflect character personalities.
Pro Tip: For dialogue-heavy animations, ensure there’s a balance between action and spoken word to maintain visual engagement.
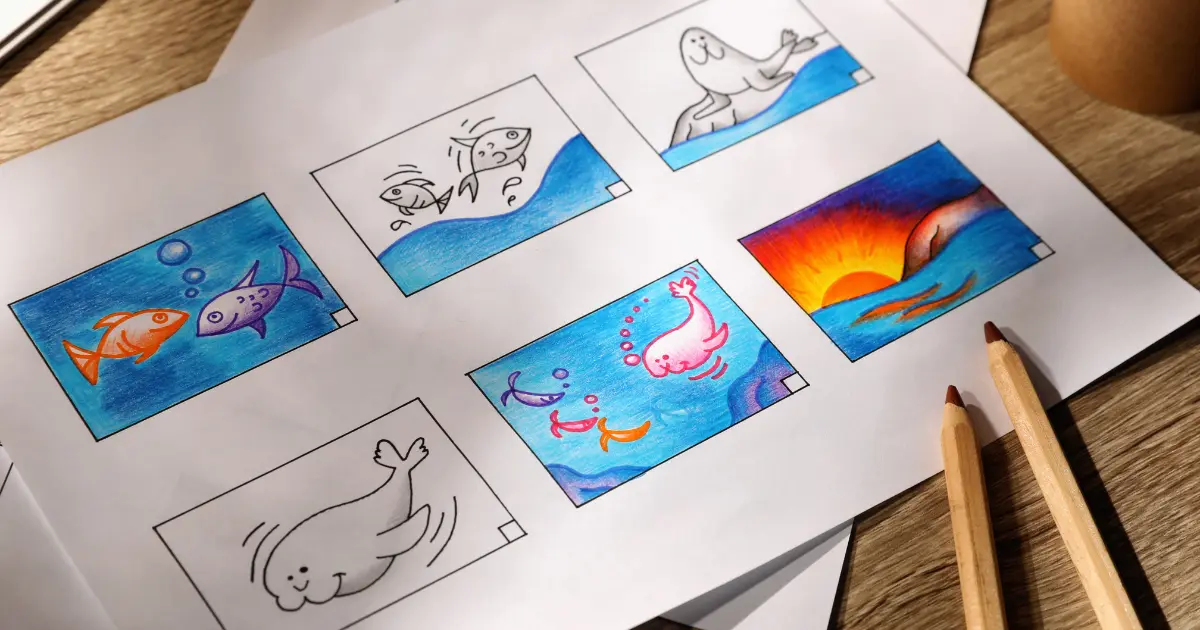
Storyboarding and Scene Planning
Storyboarding turns written ideas into visual blueprints. It’s a crucial stage where animators visualize the flow of the story and iron out potential issues.
Steps to Create a Storyboard:
- Sketch rough frames of each scene.
- Include notes for camera angles, transitions, and character movement.
- Focus on keyframes that capture significant actions or emotions.
Why It’s Important:
A well-thought-out storyboard reduces production errors and ensures that everyone on the team has a clear vision of the final product.
Software to Use: Storyboard Pro, Adobe Photoshop, or even traditional pen and paper for rough drafts.
Character and Environmental Design
Characters and environments are the visual heart of any animation. This stage involves crafting unique, memorable designs that align with the story’s tone and setting.

Character Design Tips:
- Start with Silhouettes: Unique silhouettes help make characters visually distinct.
- Create Turnaround Sheets: Provide 360-degree views of each character.
- Focus on Expressions: Ensure characters can convey a wide range of emotions.
Environmental Design Tips:
- Establish Atmosphere: Whether it’s a sunny meadow or a dystopian city, set the mood with colors and details.
Add Depth: Layer backgrounds to create a sense of scale and realism.
Animatics: Visualizing the Narrative Flow
An animatic is a rough draft of the animation, combining storyboard images, basic motion, and temporary audio.
Benefits of Animatics:
- Test scene pacing and timing.
- Identify potential issues early.
- Align creative teams with a unified vision.
Pro Tip: Add placeholder sound effects and music to make the animatic more engaging during presentations.
3D Animation-Specific Steps: Modeling, Rigging, and Texturing
For 3D animations, additional steps like modeling, rigging, and texturing are essential.
Modeling:
- Create 3D representations of characters, props, and environments.
- Use polygonal modeling for realistic details or sculpting for intricate designs.
Rigging:
- Build skeletons that allow characters to move naturally.
- Add advanced controls like facial rigs for emotive expressions.
Texturing:
- Apply realistic textures to surfaces using tools like Substance Painter.
- Use UV mapping to ensure textures align perfectly with models.
Tools to Consider: Maya, Blender, or ZBrush for modeling; Adobe Substance 3D for texturing.
Animation Production: Giving Motion to Art
The animation stage brings characters and scenes to life. Techniques vary depending on whether the project is 2D or 3D.
2D Animation:
- Frame-by-Frame Animation: Each frame is drawn individually for seamless motion.
- Puppet Animation: Use rigged characters to speed up the process.
3D Animation:
- Animate using keyframes and physics simulations.
- Experiment with motion curves for smoother transitions.
Principles of Animation: Remember the 12 Principles of Animation—timing, anticipation, exaggeration, and more.
Refining the Visuals: Lighting, Rendering, and Special Effects
Lighting:
- Use key, fill, and rim lighting to enhance depth and focus.
- Adjust light sources to reflect the scene’s mood and time of day.
Rendering:
- Generate high-resolution frames using engines like Arnold or Cycles.
- Optimize render settings to balance quality and speed.
Special Effects:
- Add effects like rain, fire, or magical sparkles.
Use tools like Houdini or After Effects for advanced effects.
Sound Design and Music Composition
Audio breathes life into visuals, enhancing the viewer’s emotional experience.

Sound Design Steps:
- Record high-quality dialogue with professional equipment.
- Add Foley effects for naturalistic sounds.
- Choose or compose music that complements the tone.
Pro Tip: Sync sound effects with actions precisely to maintain immersion.
Reviewing, Revising, and Exporting the Final Product
Once animation and audio are complete, review the project thoroughly to ensure perfection.
Checklist for Review:
- Verify lip-sync accuracy.
- Check for inconsistencies in lighting or animation timing.
- Confirm that all sound effects align with on-screen actions.
Export in appropriate formats like MP4 or MOV based on the intended platform.
Distribution, Promotion, and Audience Engagement
The final step is sharing your animation with the world and engaging with your audience.
Distribution Channels:
- Submit to film festivals for industry exposure.
- Upload to streaming platforms like YouTube or Vimeo.
- Share clips and teasers on social media.
Marketing Tips:
- Create behind-the-scenes content to generate interest.
- Collaborate with influencers to expand your reach.
Use targeted hashtags and SEO-optimized descriptions.
Conclusion: Embrace the Journey of Animation
The process of animation is a rewarding journey that requires dedication, creativity, and technical expertise. By following these steps, animators can create compelling stories, connect with audiences, and make a lasting impact in the world of visual storytelling. Remember, each project offers new opportunities to experiment, learn, and grow. Embrace the challenges, trust the process, and let your creativity shine!